Gearhub Sports Team Rider Dylan Bailey is sharing his fat bike knowledge with you and inviting you to get out and celebrate Canada’s Fat Bike Day. On Saturday, February 6th Canadian’s coast to coast will be riding fat bikes in recognition of Canada’s fastest growing winter activity.
Here are Dylan’s fat bike tips:
These are the main areas I find people often struggle with while fat biking:
• Climbing
• Cornering
• Gear selection / shifting
• Tire pressure
This article is aimed at the beginner/intermediate riders out there that are looking to improve their basic fat biking skills. The following tips will hopefully improve your overall experience out there on the trails and may make it easier to conquer all the great fat biking trails that the Elk Valley has to offer.
Climbing
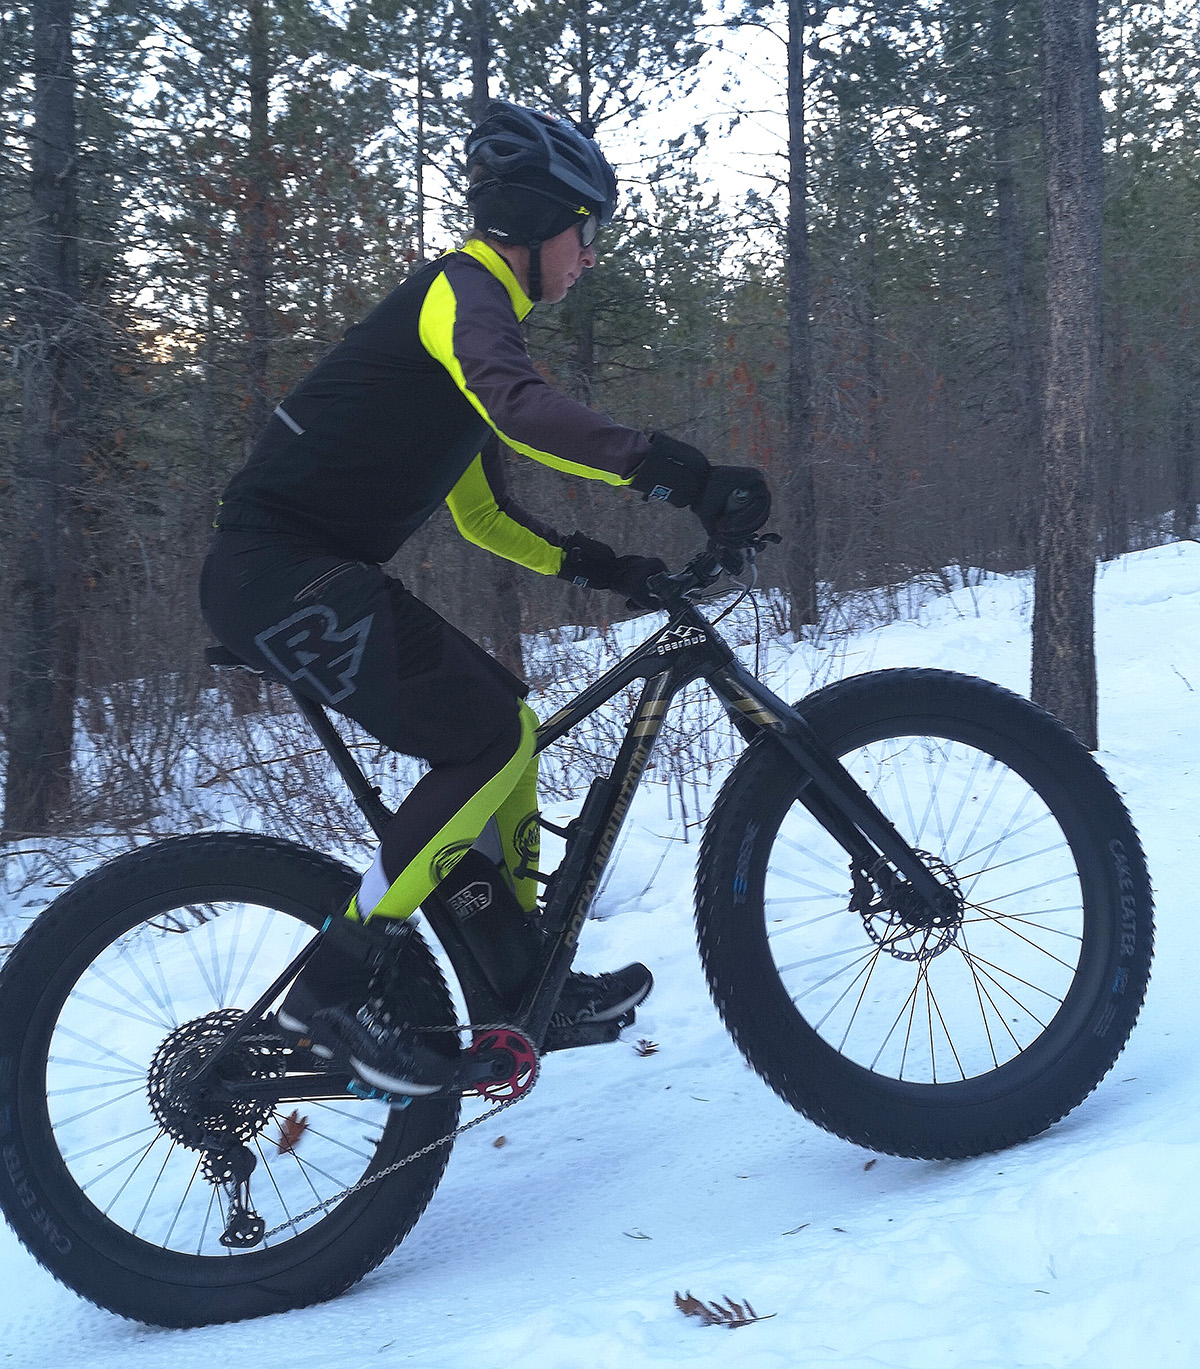
Although it’s part of this challenging, yet amazing sport, having to get off your bike, whether it was planned or unplanned, and walk up that last little steep bit of the climb can be a downer. Sometimes it can just be a lack of fitness, but quite often, a loss of traction due to poor pedaling technique or improper body position is the culprit.
The goal for pedaling is to provide consistent power to the rear tire. Unwanted surges of power, caused by applying the majority of your force on the downward stroke, will likely result in your rear tire slipping. This kills all of your momentum, leaving you with no option but to hop off your bike. Try your best to evenly distribute your power as you pedal. Think of this: kicking a ball as your crank passes through 11 o’clock, and scraping mud/gum/poop off your shoe as it passes through 6 o’clock. The smoother you can pedal, the more traction you’ll have!
The second part of gaining more traction is body positioning. The goal here is simple: Give your rear wheel weight by sitting up straight. If you lean forward too much or stand up, your rear end will be lighter and lose traction. Lean back too much and your front wheel will likely lift off the ground, leaving you with little control. Moving forward on the seat on the steeper climbs will also help. This allows you to keep an upright position, which will make it easier to take deep breaths, while maintaining steering control.
Cornering
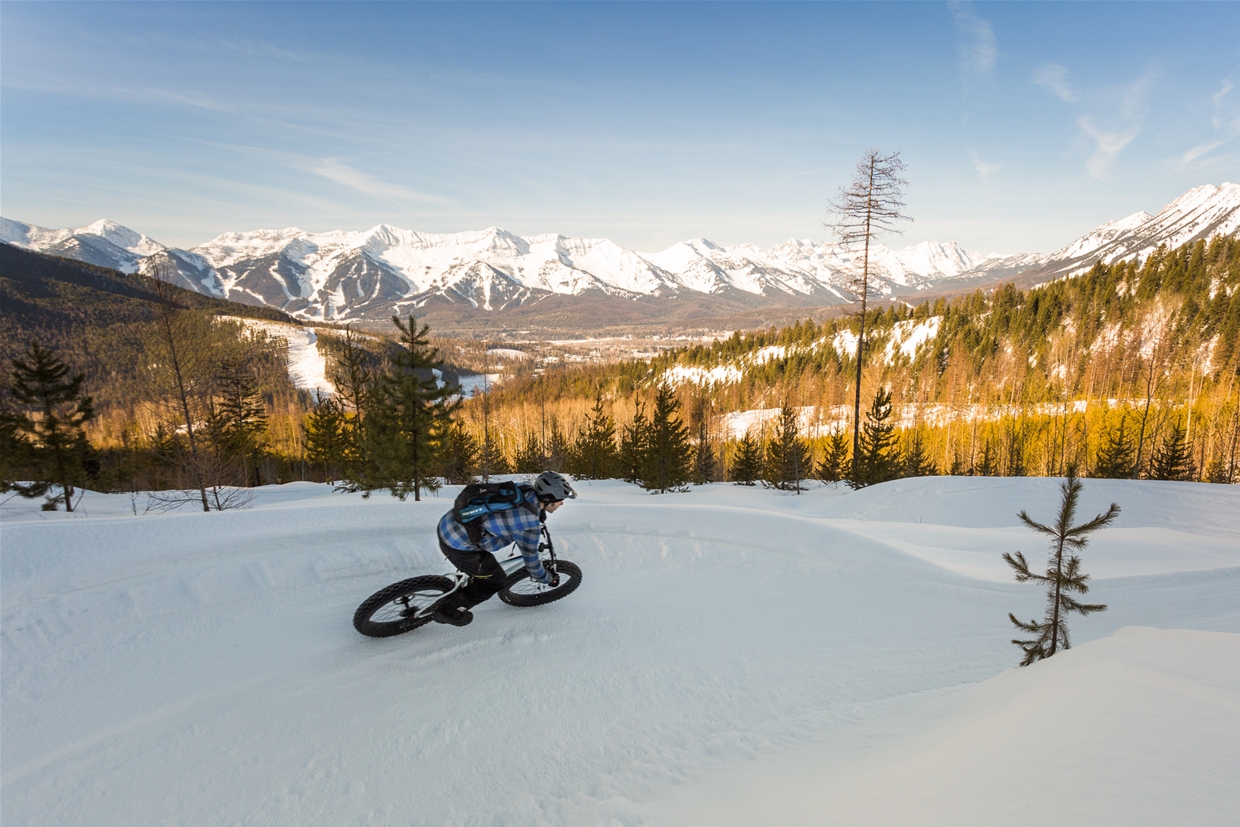
Cornering technique, and the speed at which you enter corners, will vary quite a lot depending on conditions. In firm, grippy, predictable conditions, you can almost corner like you would on your normal mountain bike in the summer and approach corners at a higher speed. If there is fresh snow on the trails, or it’s just soft because of warmer temperatures, you’ll have to gauge how predictable the snow is, and adjust accordingly.
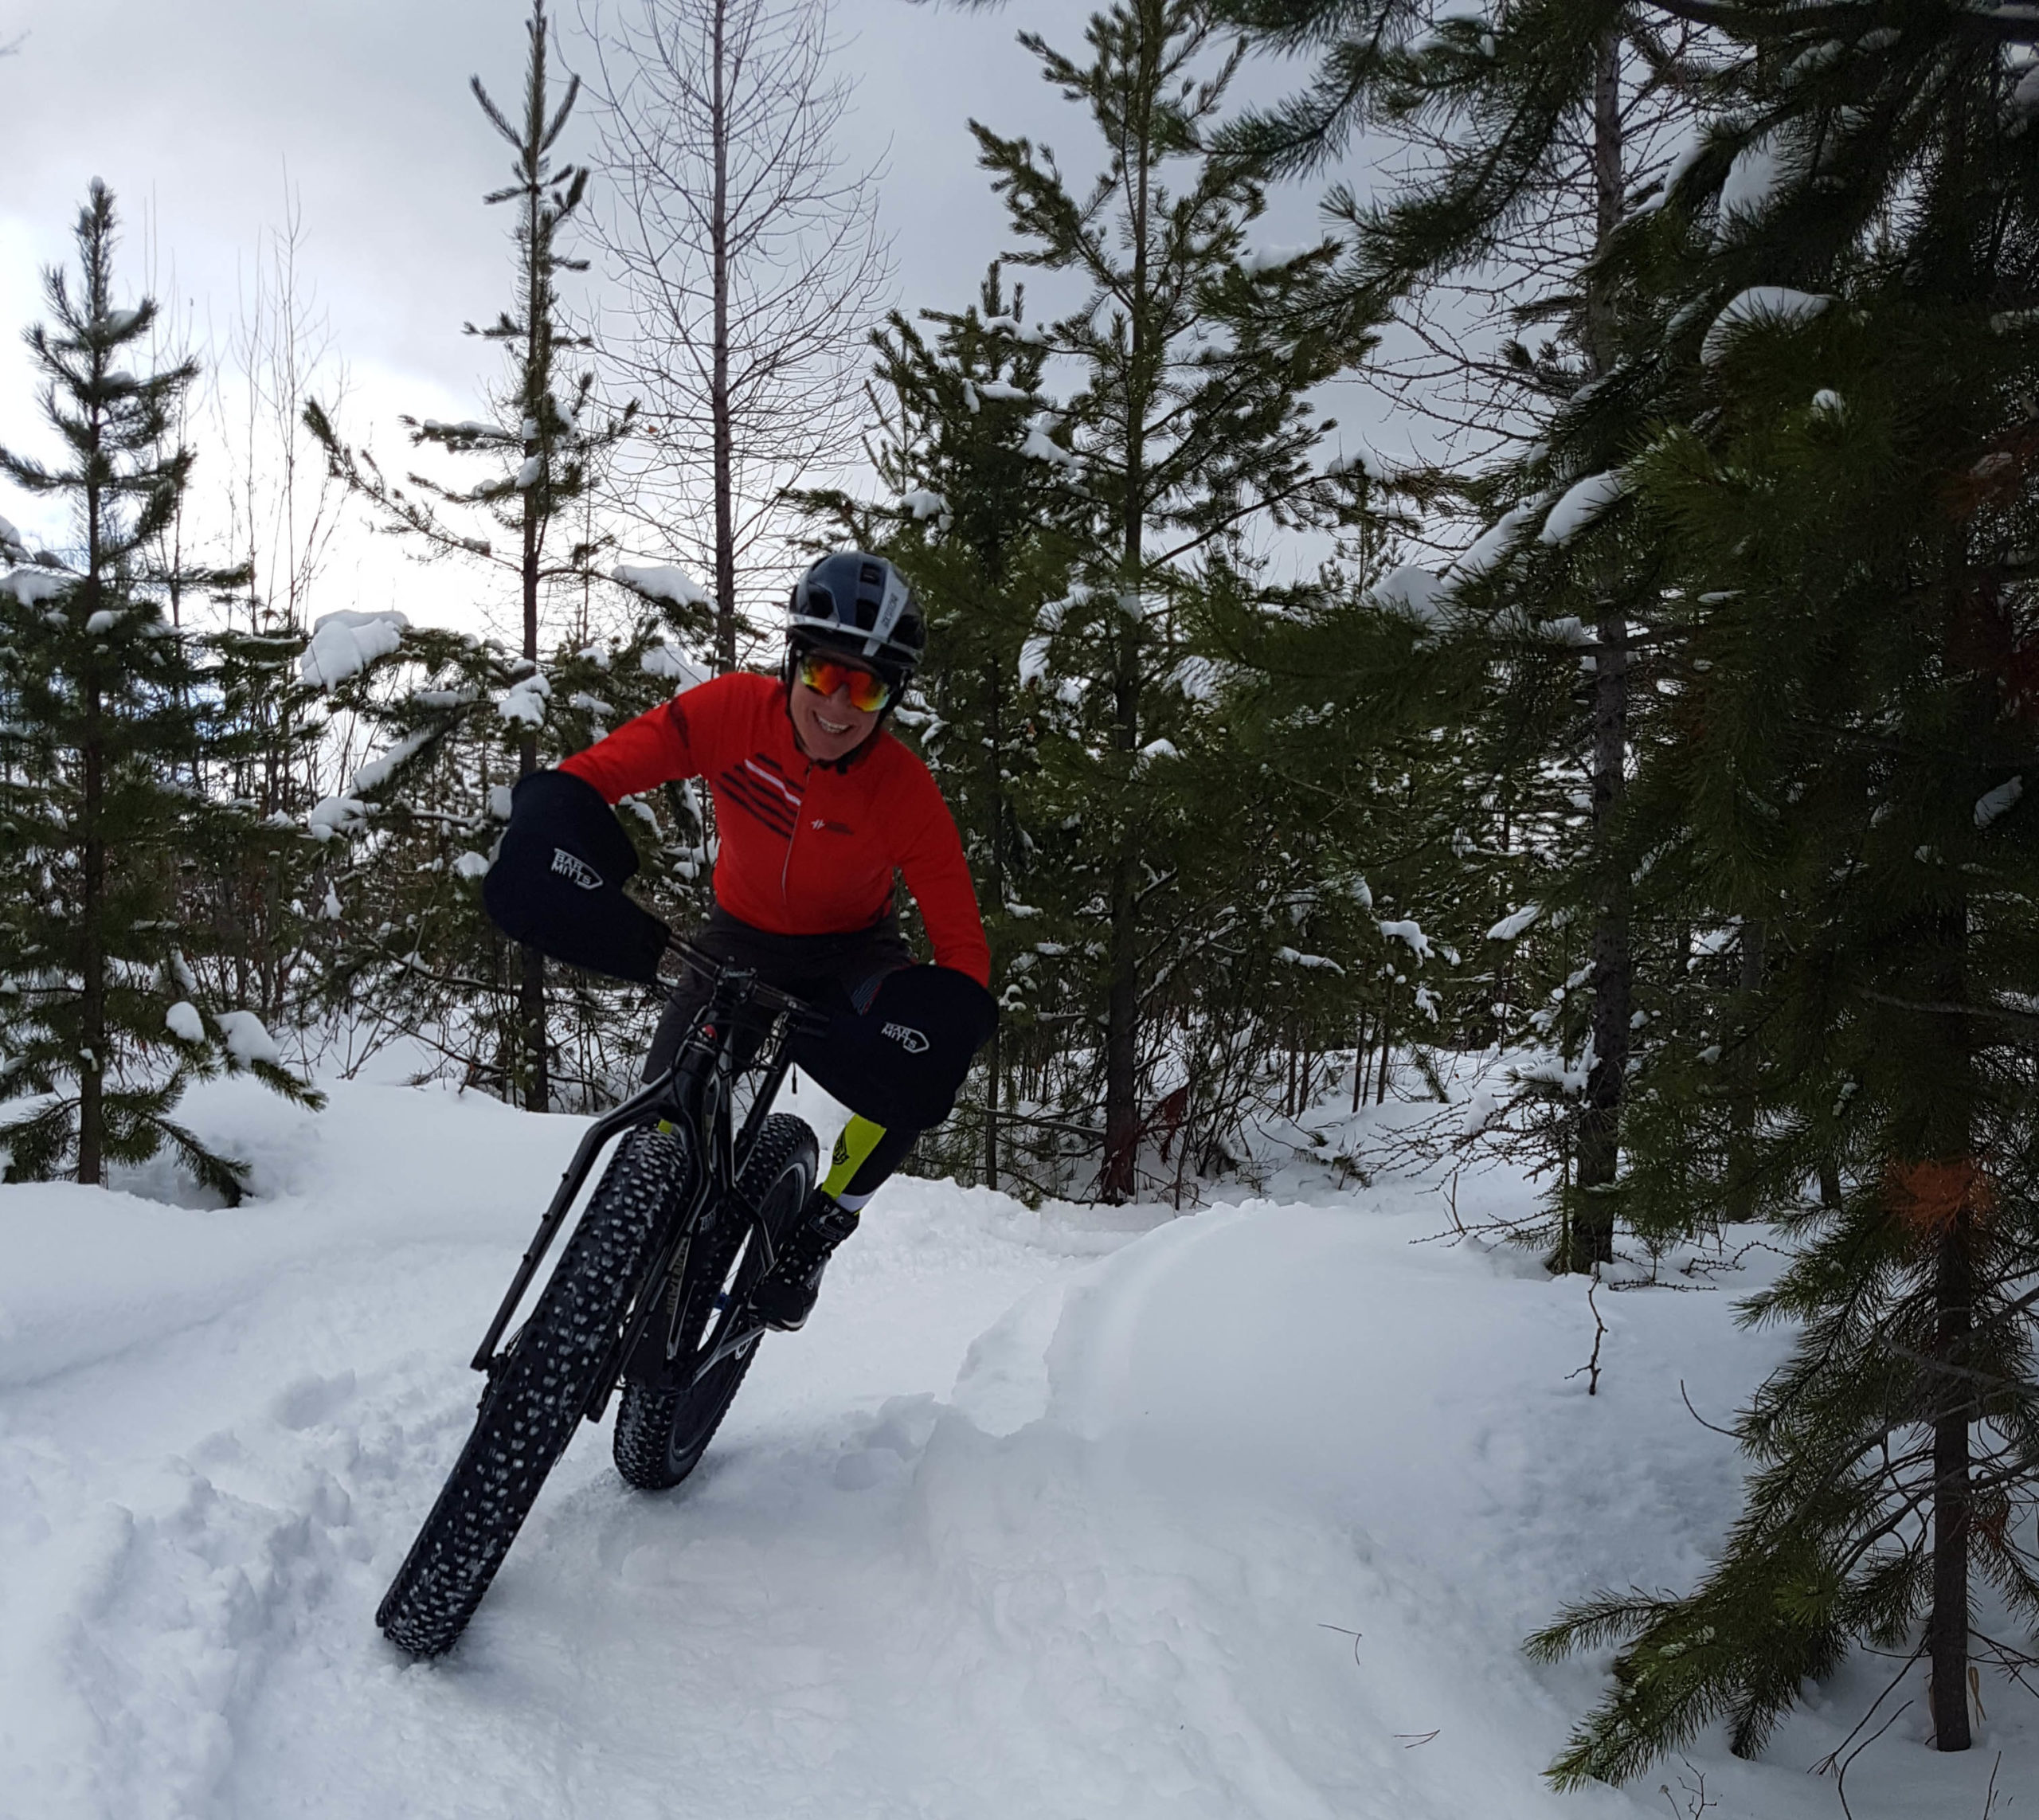
Regardless of conditions, there are a few basic techniques that you can apply. If the corner is sharp enough where you’ll need to lean the bike over a fair bit, make sure your outside foot/pedal is down. The last thing you want is to have your inside foot/pedal hit the snow as you’re going around the corner. It also gives your tires more traction which is never a bad thing!
Secondly, keep your eyes up the trail and look ahead! Knowing how tight the corner is and what follows the corner is very important. This will help you gauge your speed coming into the corner and will help you decide which gear you should be in before the corner (more on this later!)
Lastly, in soft, loose and/or unpredictable conditions, slow down before the corner. Braking before the corner, as opposed to braking while IN the corner, will give you more control and probably lead to less crashing.
Gear Selection and Shifting
Being in the correct gear is crucial for fat biking. It can be the difference between making it up the climb or not making it up the climb. It can also help you smoothly accelerate out of corners and keep your momentum going forward.
A common mistake beginner riders make is waiting until it’s too late to shift into an easier gear while transitioning to a climb. As I mentioned earlier, look ahead on the trail so you can see what’s coming up and shift into a lower gear just before the climb. You may lose some of the speed you had because of this, but it allows you to be in the right gear as the bike starts to slow down. Shifting later than this can be hard on the drivetrain and will cause you to apply lots of power in a high gear, likely resulting in slipping out.
The same principles apply for corners. If you are coming into a corner pretty fast and it looks like it may be a slow exit (tight corner or maybe a little hill after the corner), pedal a few times and shift gears before the corner, not afterwards.
Keep it simple: Look ahead and shift early. I can’t emphasize this enough.
Tire Pressure
I get asked about tire pressure almost daily, whether it’s in the shop or on the trail.
There are a lot of variables involved here such as tire size and tread, snow conditions, rider weight, experience and riding style, so there isn’t a magic number, but here are some good general guidelines.
If the snow is firm and provides decent traction, run a higher pressure. This will allow your tires to roll faster and give less resistance. Having pressure too low with firm conditions may cause your front tire to oversteer in corners and if it’s too low in the rear, you may just be bouncing up and down unnecessarily while you pedal. I normally run about 6-9 psi on these days, but again, that’s just me. Experiment with your tires and see how it feels!
On days where the snow is soft and/or slippery, drop your pressure. Doing this has many advantages. Mainly, it will give your tires maximum traction for both climbing and cornering, and increase the surface area of your tires. This prevents you from leaving massive ruts in the trail, which can ruin the experience for the next rider. I find that 4-6 psi is usually low enough but some people will go lower than that if needed. Just be aware that running a really low pressure can result in getting pinch flats, even in soft conditions, so bring a spare tube.
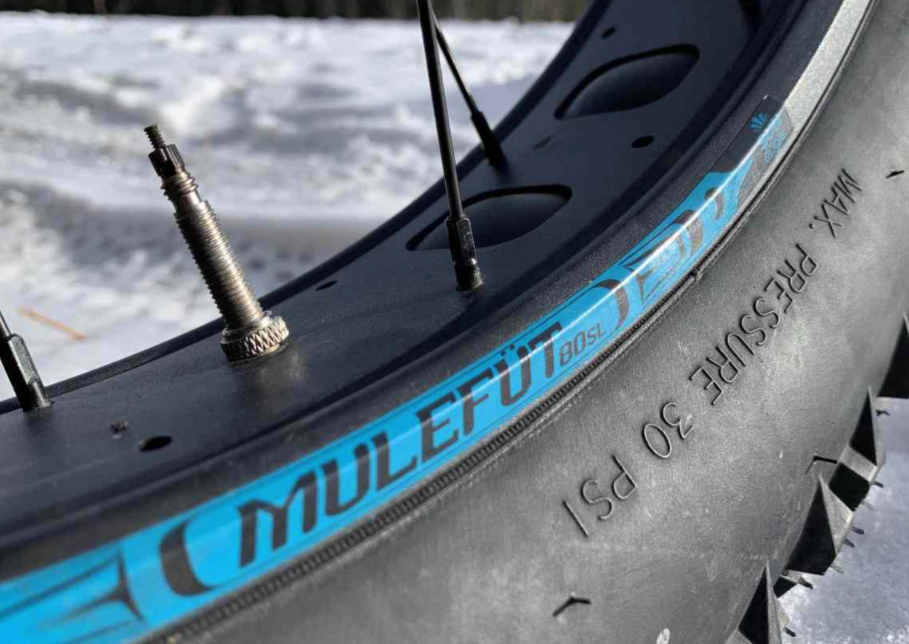
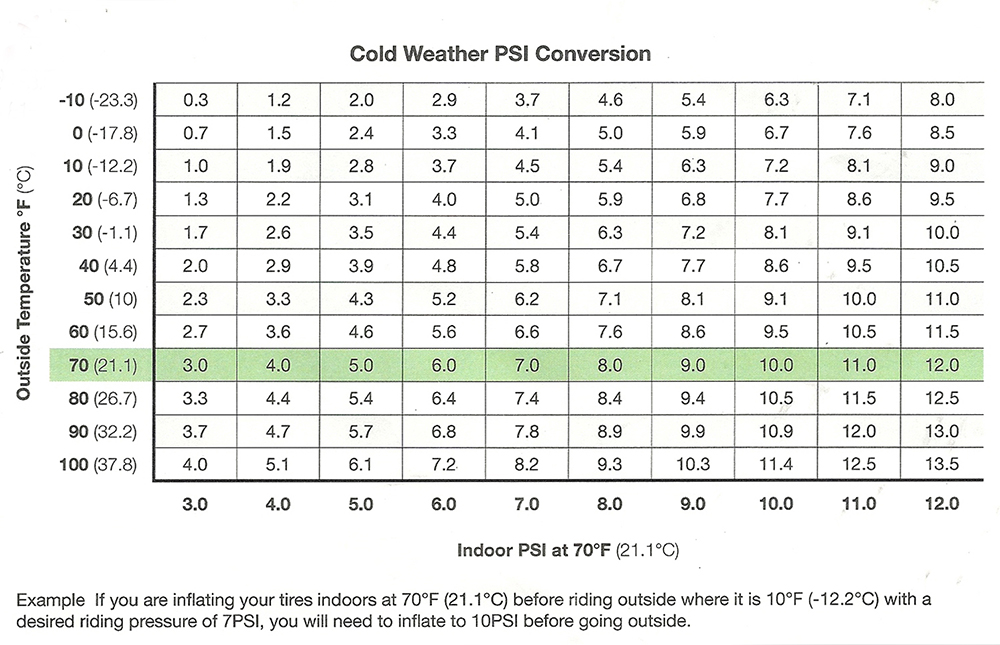
Most people know that air pressure drops when it’s cold, but how much? If you’re checking your tire pressure with a gauge at 25ºc, your psi may drop by as much as 4 pounds by the time you get outside. While 4 psi might not sound like much, if you’re running 8 psi in a fat bike tire, losing half of your air pressure is a pretty big deal.
Using the chart above, it should be a bit easier to arrive to your destination with the desired pressure right off the bat. Obviously temperatures on the trail may change, and you need to know what the temperature is when you’re inflating your tires. This is definitely not for the riders who simply go by feel, but for those looking to run specific psi it could be pretty useful.
That’s it for now! Get out there and celebrate Canada Fat Bike Day, enjoy the fresh air, be courteous to other trail users, be safe, keep your head up, ride smooth and smile!

